Custom Categories
In AssetCenter assets and subscriptions are grouped by categories. Categories are flexible and meant to be customized to the needs of your organization. They can be anything from small tools, pickup trucks, cell phones, laptops, or even office furniture.
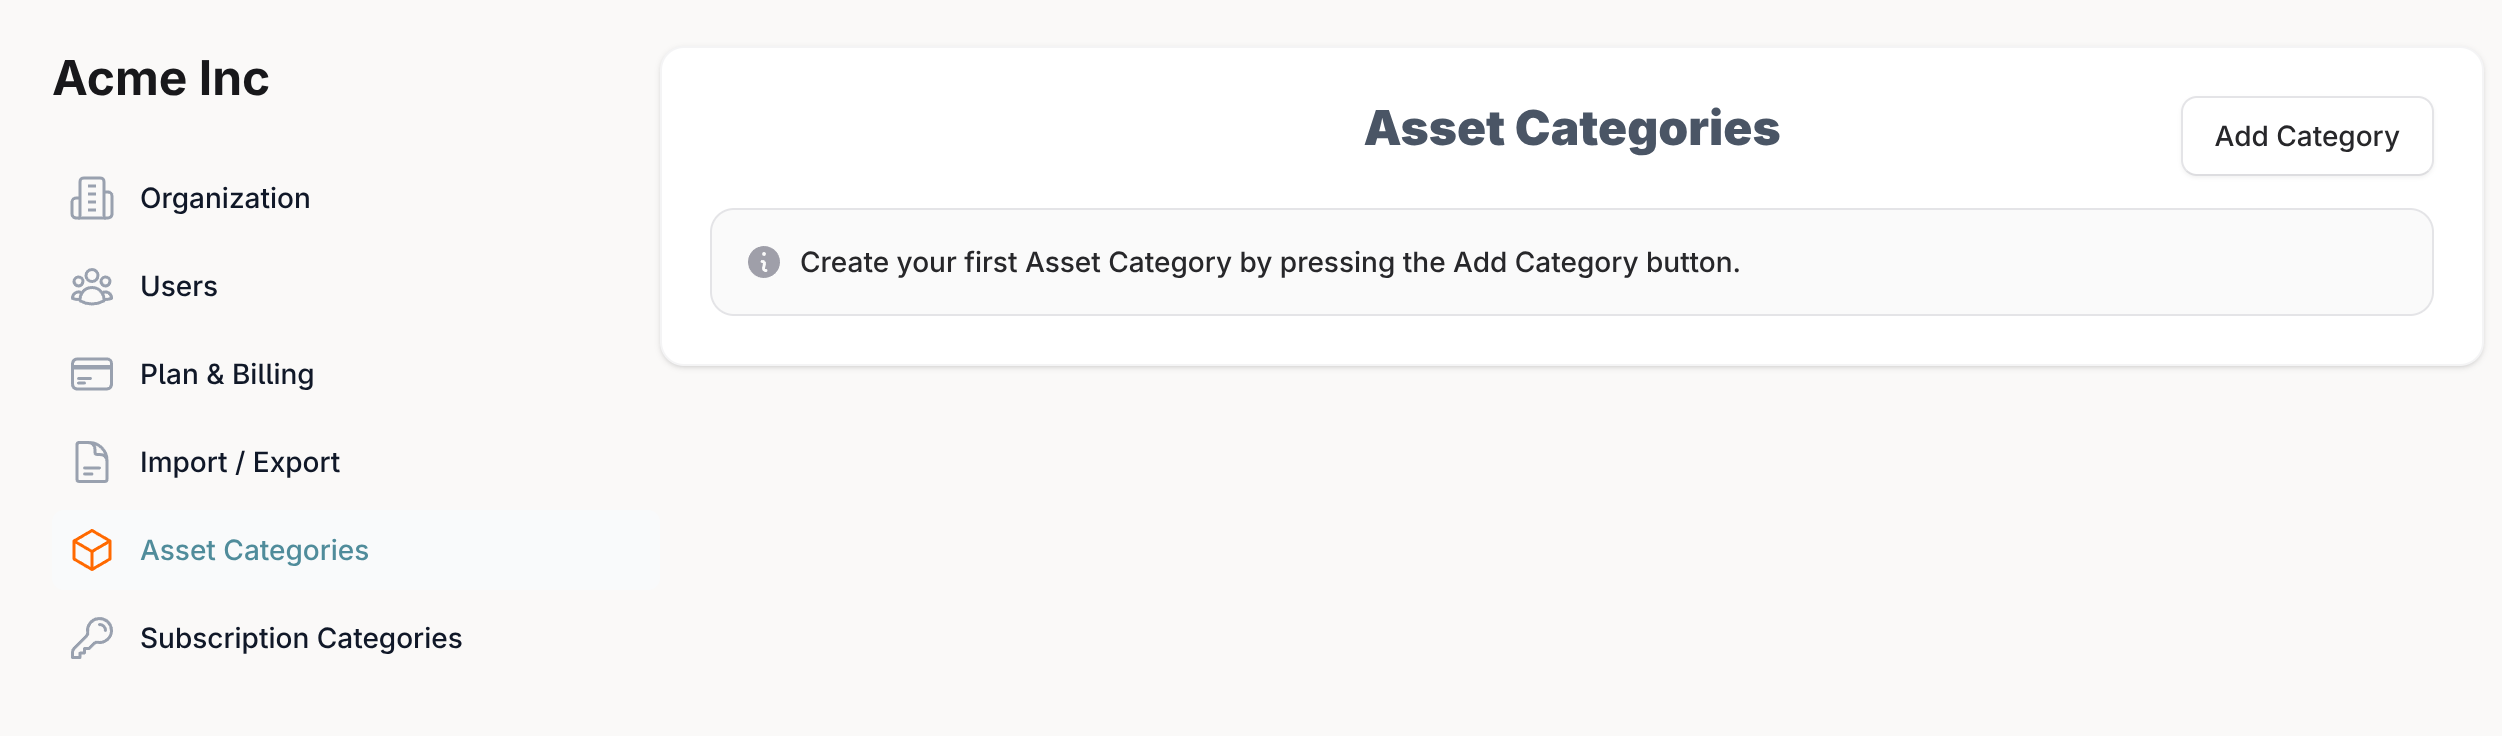
Custom categories need to created first before you can enter assets or subscriptions.
To get started creating your custom categories, click on the blue + button in the top right corner and select either asset categories or subscription categories.
Now that you are at the category settings page press the Add Category button to create a category.
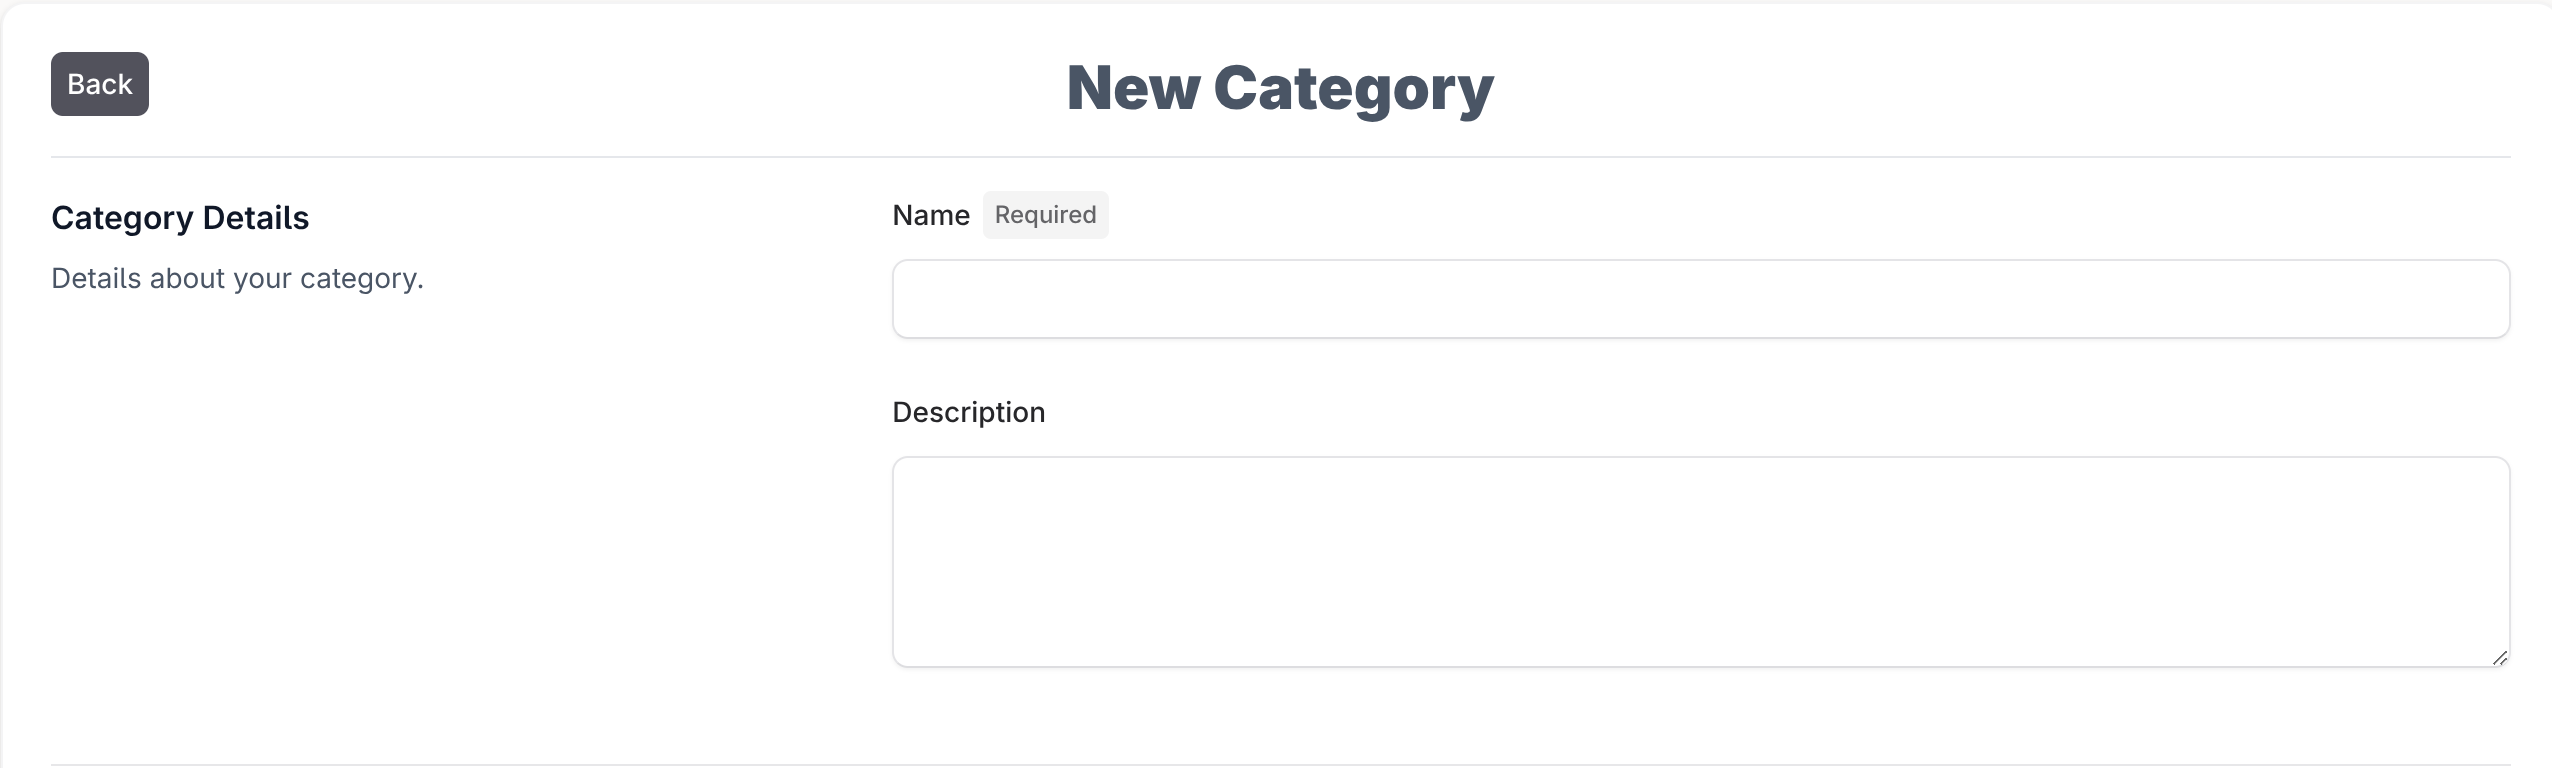
New Category
Start by naming your category, and if needed give it a description. The category description only lives in the settings page but can be useful to help your team understand the purpose of a given category.
Report Settings
If this is an Asset Category then Report settings is the next section.
End Of Life
The End of Life field is used to decide when assets in your organization are considered End of Life. Active assets will receive a red badge marked End Of Life and you will be able to filter to see just the assets that are currently end of life and need to be addressed.
Enter the number of months or years after which an asset is considered end-of-life. Any asset in this category will automatically be marked as end-of-life once it reaches that age, based on its acquisition date.
Useful Life
The Useful Life field is measured in years and is used to calculate depreciation on assets.

Email Notifications
Choose to receive email alerts for upcoming end-of-life assets, expiring warranties, or expiring contracts in this category. Use the dropdown to select how far in advance you’d like to be notified or not at all.
When you have filled out this page press the Add Category button at the bottom to create the category. You can then add custom fields to this category as this section will become available.
The next page will show you how to create custom fields.